Thursday, October 24, 2013

Clean Pumpkin Muffins


 October is upon us. 

Ok let's be real. It's the 24th of October, so the month is almost over already. So today I had the "Oh crap I better get my pumpkin post up before the month is over" anxiety.

Does anyone else feel like every year just goes by faster and faster? I'm not liking this!

Seeing as how October is the unofficial month of pumpkin-flavored everything, I had to make something with pumpkin. 

I found a few great recipes using pumpkin, but decided to start with the most basic one...muffins.

After having a weirdly warm fall, the last couple weeks have started to get cooler. We even had a chance of snow the other day. Go figure...only in the Midwest you will go from T-shirts to snow pants in the course of two weeks. So with the weather getting cooler and me being stingy and not wanting to turn on the heat, I decided it was time to bake!  

As with most baking recipes, whisk together the dry ingredients in a medium bowl. The original recipe called for half white flour and half wheat flour, but I changed it to half Whole Wheat Pastry flour and half White Whole Wheat flour.


Then whisk together the pumpkin and other wet ingredients. 


In this part I changed the canola oil to grapeseed oil. You can also use olive oil. I discovered grapeseed oil when I learned about Wildtree - a food company that sells whole foods with no extra ingredients. It's like a Tastefully Simple but with out all the preservatives and extra stuff. I absolutely love this stuff! You should check it out!

I also used almond milk instead of cow's milk, not necessary but just a preference. 

The original recipe had raisins in it...and while I like raisins....I like chocolate more. So I switched those up for mini chocolate chips. 

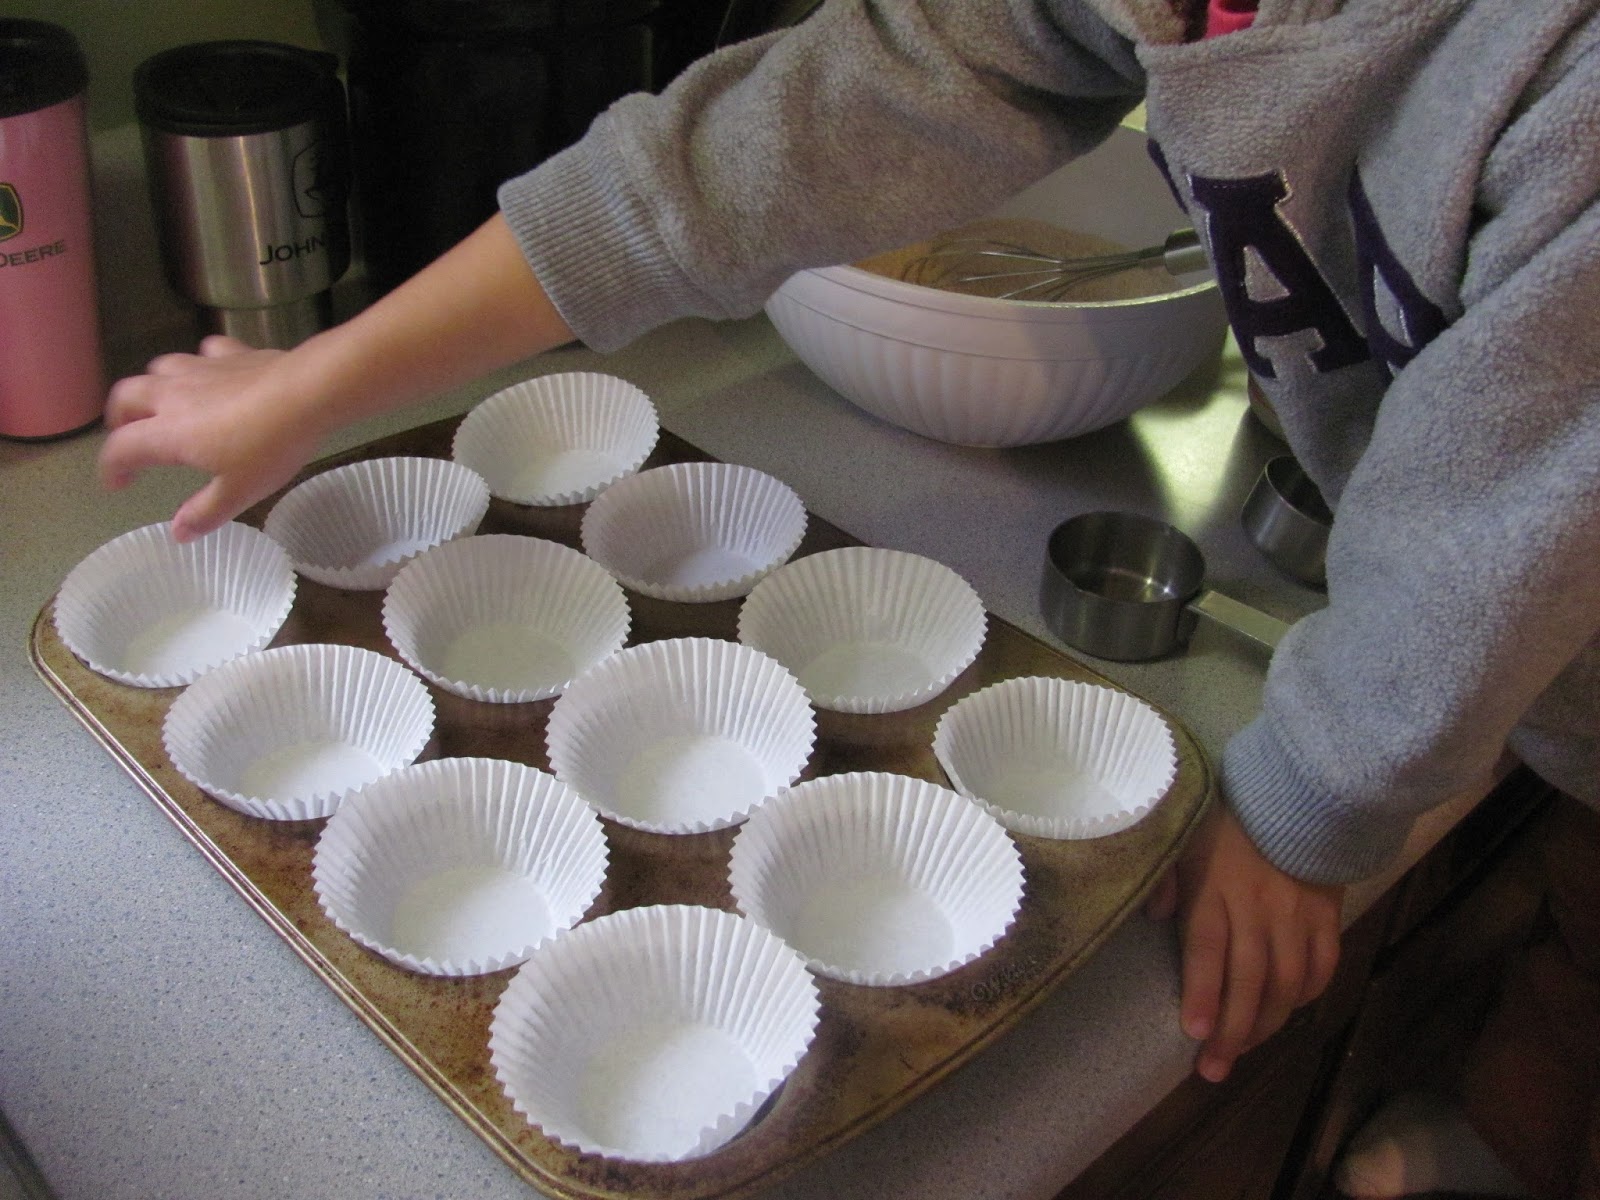
Line your muffin tins with paper cups or you can bake these using a silicone muffin tray (I want one so bad!).
Don't mind my little helper's hands in the picture....she insisted on doing the muffins cups. :)


Combine your wet and dry ingredients. 
Then fold in your added ingredients, in this case chocolate chips and slivered almonds.


WARNING: DO NOT LICK THE BATTER.
Once you lick it, you will not be able to stop!
This recipe made about 16 muffins and I'm pretty sure it was supposed to make 18....but I may or may not have eaten two muffins worth of batter. 
SO PLEASE HEED MY WARNING.

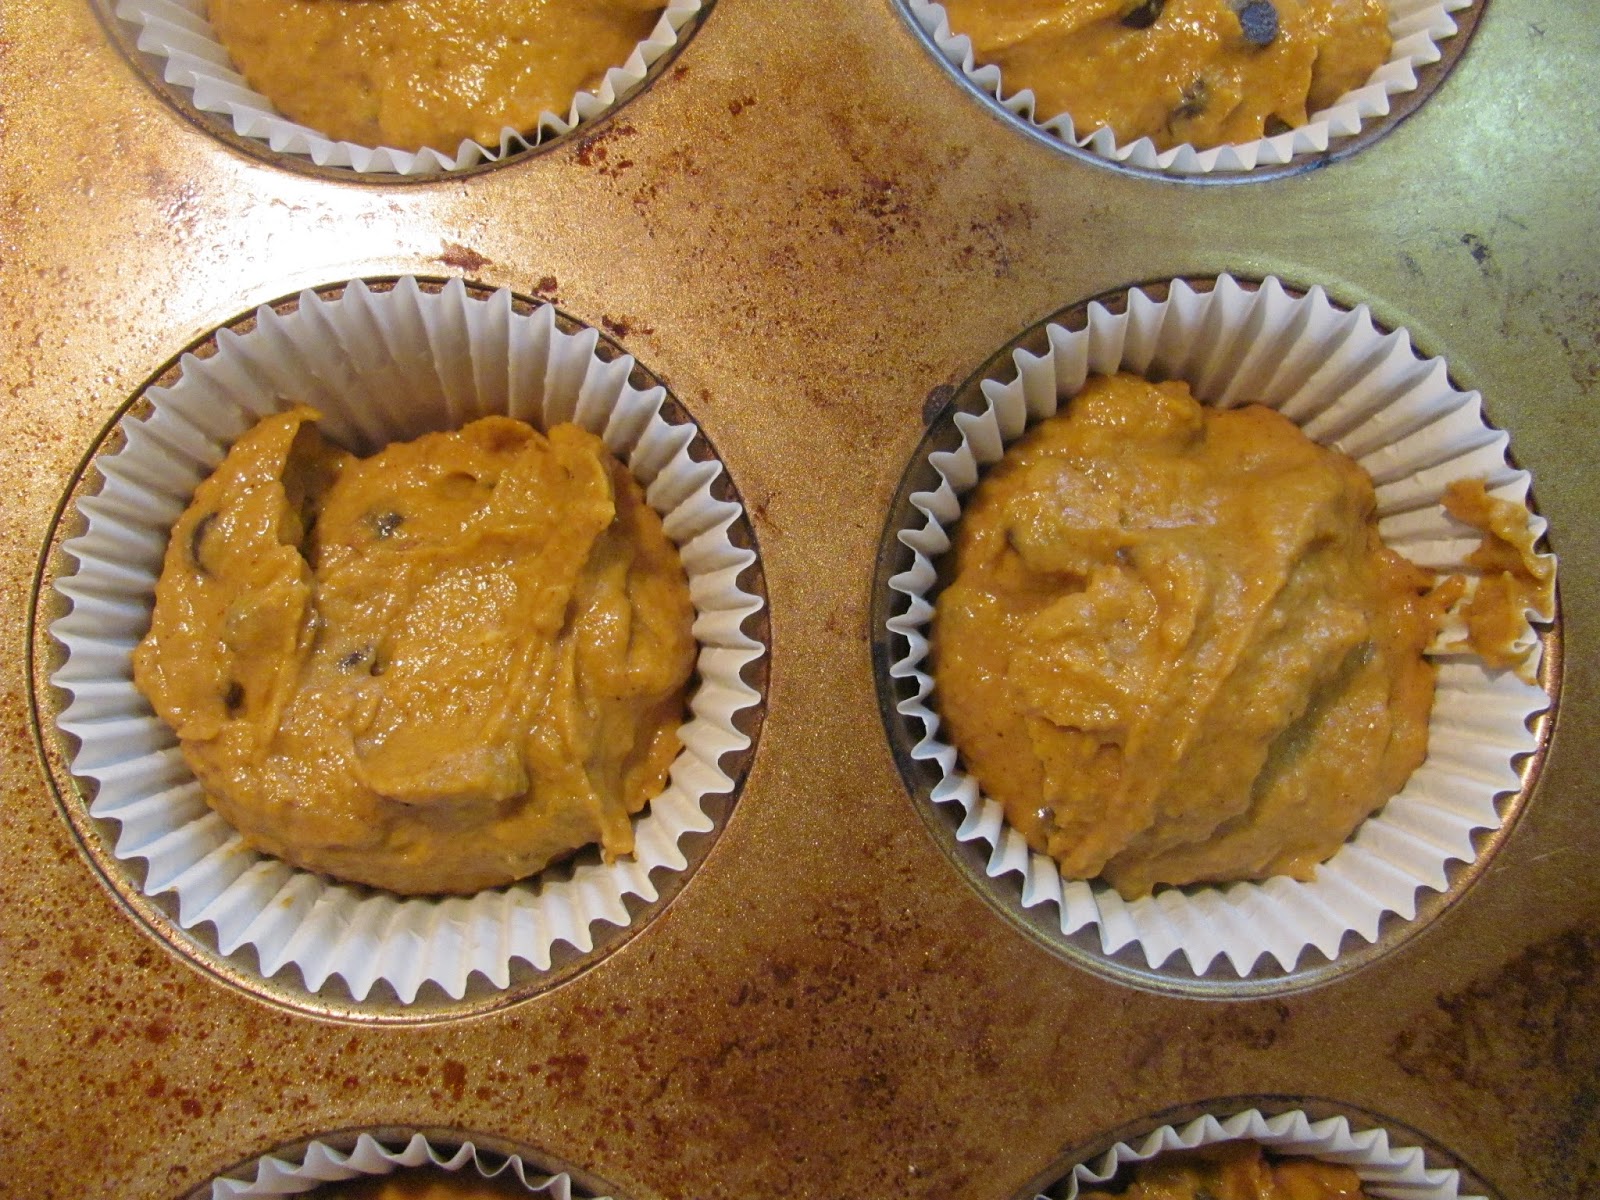
After restraining yourself from eating all of the batter...pour batter into muffin cups. I usually use my 1/4 measuring cup when making muffins, but the blogger that made this recipe used an ice cream scoop. I tried the ice cream scoop this time and it was great! One big scoop was plenty for each cup.


Bake in the oven at 350 degrees F for 20-25 minutes or until a toothpick comes out clean.

Let cool for 10 minutes.

I found the original recipe over at Sweet and Crumbly and she called them Bet You a Million Bucks Pumpkin Muffins.

That title was a little long for me, so I just call them Clean Pumpkin Muffins because with the small changes I made they are truly clean. 

Geni at Sweet and Cumbly recommended eating these with coffee...so I took her up on her advice...and she was right! I had two muffins with my ritual early morning cup of coffee and it was a perfect breakfast.

And since I like to keep it real around here...this is what my life really looks like in the morning. 


No perfect mom here! Just a happy one.


Clean Pumpkin Muffins
  • 3/4 cup whole wheat pastry flour
  • 3/4 cup white whole wheat flour
  • 1 tsp baking soda
  • 1 tsp baking powder
  • 1/2 tsp salt
  • 2 tsp ground cinnamon
  • 1 tsp ground ginger
  • 1 tsp ground nutmeg
  • 1/4 cup molasses
  • 2 Tbsp maple syrup
  • 1/3 cup plain greek yogurt (non-fat)
  • 1/4 cup olive oil (or grapeseed oil)
  • 3/4 of 15oz. can pumpkin puree (not pumpkin pie spiced)
  • 1/4 cup almond milk
  • 2 eggs
  • 1/2 cup chopped almonds (optional)
  • 1/2 cup grain-sweetened chocolate chips (optional)
Preheat oven to 350 degrees F. Line muffin tin with muffin liners.

In a large bowl whisk together the dry ingredients - flours, baking soda, baking powder, cinnamon, salt, ginger, and nutmeg.

In another bowl whisk together the wet ingredients - molasses, maple syrup, greek yogurt, oil, pumpkin puree, almond milk, and eggs.

Slowly mix dry ingredients into wet and combine just until dissolved.

Fold in your optional ingredients - chocolate chips, almonds, raisins, etc.

Fill muffin cups 2/3 full and bake for 20-25 minutes or until toothpick comes out clean.

Cool for 10 minutes. Store in air tight container in cabinet or refrigerator.


Wednesday, October 16, 2013

Clean Banana Bread


We eat a lot of bananas. They get used in baking, smoothies, tortilla roll-ups, fruit salad....the uses are endless! But somehow no matter how many bananas we eat, I always end up with one left over banana that is over ripe and no one wants to eat it. 

That's how I ended up with seven of these in my freezer.


SEVEN.

When I realized how many were in there, I knew it was time to make banana bread. But of course I needed a clean banana bread recipe, which I did not have. So to the internet I went. 

I found a couple different recipes. I mean, seriously, with Pinterest you can find 8 different ways to shave your legs without using store bought razors.

But after looking at all the recipes, I decided to go with the mother of all recipes. The Banana Loaf from the queen of clean eating herself - Tosca Reno. (applause, applause, applause)

Who is that? Well, she is famous for coming up with the Eat Clean Diet. She has a website, books, cookbooks, and who knows what else. If there was anything you ever wanted to know about eating clean, go to her website or go to the Eat Clean Diet website. I guarantee you will find your answers. 

Even though her recipe was already "clean", I still had to modify it a little to work with the ingredients I had on hand. But her original recipe is completely clean. I changed the oat flour to Whole Wheat White Flour and I changed the Stevia Baking Blend to honey. If you buy oat flour it can be expensive and the only stevia I keep around is for my coffee. I substituted these two things and I thought it still turned out wonderful.

It's really very simple.

Mix all of your dry ingredients in one bowl and combine your wet ingredients in another bowl.


Slowly pour flour mixture into wet ingredients and stir just until combined. 

Here's the fun part. Banana bread is SO versatile. You can add ANYTHING. Any kind of nut, raisins, chocolate chips, other fruits...this time I decided to go with chocolate chips. Hi, have you met me? I love chocolate.

Once your batter is mixed, then fold in your added ingredient.


Mmmmmmmmm........... chooooocolate.............

Obviously the chocolate chips aren't "clean" unless you buy the grain sweetened ones. But that's totally up to you!

Pour in greased 9x5 loaf pan.
 

Bake in the oven for 50 minutes at 325 degrees F.

Note: Bake it for the whole 50 minutes. My oven tends to cook quickly, so I took it out at 45 and it definitely could have used that extra 5 minutes. 


It's ok to go get a napkin if you are drooling right now. I'll wait......

.......Back? Cool.

So there you are! Clean Banana Bread (with chocolate chips). Easy peasy and delicious. I'll be honest...this loaf lasted almost two days. 

Good thing I had four more bananas in the freezer!

On that note, here's a teaser for you:
I did use those bananas yesterday for another type of bread....head over to my Facebook Page to find out what I made. You won't regret it.

Clean Banana Bread
  • 3 egg whites
  • 3 ripe bananas, mashed
  • 1/2 cup unsweetened applesauce
  • 1/3 cup honey
  • 2 cups flour (oat or whole wheat white)
  • 1 tsp baking soda
  • 1/2 tsp baking powder
  • 1/2 tsp salt
  • 1/2 tsp vanilla
  • 1/2 cup chocolate chips
Preheat oven to 325 degrees F. Grease 9x5 loaf pan.

Beat egg whites in medium bowl and then stir in mashed bananas, applesauce, honey, and vanilla. Mix well.

Mix dry ingredients (flour, baking soda, baking powder, salt) in another bowl.

Add dry mixture to wet mixture slowly, mixing just enough to get it all blended.

Pour into loaf pan and bake for 50 minutes or until toothpick comes out clean. Let loaf stand for 10 mintues before slicing.

Devour.

*For all my gluten free friends - I'm not an expert, but I believe if you use gluten-free oat flour with this it would be gluten free. Yay!

Thursday, October 10, 2013

Clean Chicken Nuggets


When I first started researching eating clean, I kept reading about people packing coolers when they would go into town. I realized that they meant they would pre-pack meals so they wouldn't have to stop at fast food restaurants for food. I'm assuming that most of these people were talking about taking lunches to work, but some moms said that they did pack food in coolers for themselves and their kiddos to take on shopping trips. 

Wow. Now, that's commitment.

In the spirit of being real, I have yet to do this. Seriously, that's a lot of work and planning. I do try to plan trips around meal time so that we can just eat at home. But occasionally plans get changed or things happen and we end up in the drive-thru. Oh well, life happens. 

So how do you replace the ever-so-loved Chicken McNugget? In the mind of a child, you can't. Nothing can come close to whatever is deed fried under those golden arches.

But you can sure try!

I found this recipe at The Gracious Pantry. It was one of the first few recipes I looked up because it was something that I always had a frozen bag of in the freezer. I couldn't quite comprehend how we were going to survive without it...

Luckily that's where learning about different types of clean lunch options came in handy. 
And this recipe. 


First you need bread crumbs. If you want this to be a truly clean recipe then you want to use clean bread crumbs made with clean, whole grain bread. I make mine with the clean sandwich bread
that I also got from The Gracious Pantry.

Making the bread crumbs is pretty simple.

Toast your bread until it's practically burnt and let it dry out really good. Then blend it in a processor with some spices and Parmesan cheese and voila!

After that it works a lot like Shake-N-Bake...well, without the shake...and the help.


Cut up the chicken into bite size chunks (I usually use kitchen shears for this because it is much easier), beat an egg in a bowl, and pour some crumbs onto a plate.

You now have your chicken nugget production line.

Dip the chicken in the egg and cover it in crumbs.


Place the nuggets on a greased cookie sheet and cook for 30 minutes at 350 degrees.


Golden, crunchy and delicious.

Yum!


My husband recently took a new job and due to that, he isn't home for dinner very often. It's meals like this that have become my best friend. It's still healthy, and I can make it a nice cooked meal with some brown rice and veggies or I can just get out the applesauce and carrot sticks to make it a quick meal. Believe me, I've done both.

One thing I like to do is make extra bread crumbs and then keep them in the freezer. That way they are ready to go when I need them. I also make extra nuggets and then pack them in Olivia's lunch the next day.

And you want know the real reason why this recipe is a keeper?

These faces. 


Take that McDonald's.

Now if only I could figure out how to cook them in under five minutes....

Clean Chicken Nuggets
  • 2 large chicken breasts
  • 1 batch bread crumbs
  • 1 egg (I only use one, original recipe calls for 2)
Preheat oven to 350 degrees.
 
Spray cookie sheet with cooking spray (or olive oil).
 
Cut chicken into bite size pieces.

Beat egg in a bowl.

Pour bread crumbs onto a plate or in a bowl.

Roll the chicken in the egg and then roll in bread crumbs until fully covered. Place on cookie sheet.

Bake for 30 minutes.

Remove and allow to cool for about 5 minutes.

Sunday, October 6, 2013

Just a Girl and a Card Table

This weekend was a brand new experience for me. 

Normally at vendor fairs or festivals, I'm the one meandering around looking at things, saying how cute things are but not buying too much. It's all about the experience, right? The leisurely walk through the park or building, getting some vendor food and a lemonade shake up, finding that one great buy that you can't get anywhere else. 

Well this weekend, I was on the other side of that experience for the first time. 

A few months back I taught myself to crochet. And once I learned, I just couldn't stop. And now I'm attempting to turn this obsession into a business. Other than making things for myself and my Facebook friends I didn't know what to do with all the things I was making. Seriously, I had hats coming out of my ears.

And then came Jody.

My wonderful friend Jody kept asking me to have a booth at the Spoon River Drive. It's a scenic drive that goes throughout an entire county in multiple towns over the course of two weekends. It's a big a deal around here. It's a don't-plan-to-drive-anywhere-quickly-that-weekend kind of a big deal. But I kept saying no, I didn't have enough stuff, I didn't want to spend too much money on a booth, I have too much on my plate with trying to sell a house and move, etc.

Then she found me a golden deal. A friend that had a double size tent and was willing to share for a small price. So I finally gave in.

If it weren't for the help of multiple friends, especially my awesome friend Heather over at Moreygirl, I seriously would have been a girl with a card table.  But since my awesome friends helped me, I had not only a card table, but a sign with my logo, racks to hang my things from, a tent, stickers with my logo, an order book, shopping bags....the list goes on. And gosh darn it, I almost looked like I knew what I was doing!

Hats, Fingerless Gloves, and Ear Warmers

I'm pretty sure I had everyone fooled. 

Baby hats, Ruffle Purse, and Ear Warmers

So for two days, I was the one sitting in the chair sweating...then wet...then freezing my butt off (Welcome to the Midwest) while smiling politely and hoping someone would buy something and verify that I did know what I was doing.

Chicago Bears and Elmwood Trojan Fingerless Gloves
And they did!

Chevron Scarf, Chevron Cross-body Purse, and Ruffle Purse
Saturday started out incredibly humid. The kind of humid that just makes everything miserable. As the day wore on the humidity broke and along came the downpour of rain. And I mean Down. Pour. Finally the rain went away and the sun peaked out towards the end of the day. On Sunday, it was a brisk 45 degrees at 7:00am and we were freezing. Very different start to the day. Most of the day was ridiculously cold (which turned out to be great for business!) and then in the afternoon the wind picked up and started blowing people's tents over and merchandise off of tables. 

Loving my warm coffee at 7:00am.
Let me say, Thank you Jesus, Jody and Robert Jones (whoever you are). Jesus just gets my thanks for everything, Jody placed us in a spot that had the back of our tent to the wind and rain, and Robert Jones is the one who provided the super fancy/sturdy tent we were using. Because of all this, we somehow stayed dry and all in one piece. Still freezing....but I'll take it.

Football Earflap Hat
I would say over all it was a great first experience being a vendor. Aside from the crazy weather, I sold some cute stuff, took some more orders and got my name out there a little. The part that I enjoyed the most was seeing the reactions of people when they found something they really liked. It makes you feel validated when other people like what you created. It was so fun to see the little kids that loved the Ruffle Purses and the teenagers that liked the school colored gloves. Whether they bought it or not, it was a neat experience. Definitely different than posting a picture and waiting to see if anyone "likes" it, which is all I have been able to do until now. I really enjoy the face-to-face interaction.

 And to top it off, I was able to spend two whole days with a pretty fun family that shared their tent with me (Hi Winberry's!).


One thing I learned, I did not ever stop to think about all the work that goes into these vendor fairs. These people work hard doing their craft, and then have to pack up and drive to the location, unload and set up their tables and tents, and then pray that they will be successful. It's a lot of work and you never know what will happen....but even as I sit here huddled in a blanket still trying to warm back up...I think it's safe to say it's totally worth it.

For more pics of my crochet stuff go to My Facebook Page.

Thank you again to everyone that helped me this weekend. I definitely could NOT have done it without you!


Thursday, October 3, 2013

Apple Spice Granola


It's finally October. The official month of fall. And if you live in the Midwest, you are still wearing shorts and flip flops and debating whether or not to turn the air on.

But despite it being 83 degrees yesterday, I needed something distinctly fall to remind me that yes, it IS October. 

I have multiple recipes lined up to post about, but after making this I had to share immediately. It smells AH-mazing and tastes just the same.

I've been wanting to try new flavors of granola but hadn't gotten around to it yet. And then yesterday while scrolling through Pinterest I found this apple spice granola. Perfect.

Luckily I had (almost) all the ingredients so to the kitchen I went. 


Yes, there are a lot of ingredients. BUT there usually are when you make granola. The thing that I have learned with eating clean is that once you have been doing it for a little while, you usually have everything on hand that you need. I use maple syrup all the time, so I always have a backup. Same with honey and vanilla. You just learn as you go.

I made two additions to this recipe, chia seeds and ground flax seed. Adding these boosts the nutrition aspect. Chia seeds and Quinoa (keen-wa) are both considered super foods and flax seed is just plain good for you. I also switched out the dark brown sugar for honey and molasses, making it a completely clean granola. The original recipe seemed to be for vegans, but since we aren't vegan it was okay to use honey. 

This is made very similar to the Homemade Granola recipe I posted a few months back.

 Mix all of your dry ingredients in a large bowl.

In a medium bowl, mix your wet ingredients. I whisked mine, and I had to whisk them good to get the coconut oil to mix in. You can see in the picture how it's separated from the other ingredients.


Then pour your syrup over the oat mixture and mix well until everything is coated. 

Spread granola over two parchment covered cookie sheets and bake at 325 degrees F. Bake for 45 minutes, stirring every 10 minutes to prevent burning.


Once it is cooked, let is cool for 20 minutes. This helps it get crunchy. The apples stay soft and add moisture to the granola, so this granola doesn't last quite as long as the homemade recipe. But I honestly don't think that will be an issue since this will probably be eaten within days of making it. 

You can eat it with milk or add it to some vanilla yogurt or greek yogurt with some stevia. Or you can just eat it by the handful as a snack. Anyway you eat it, it's delicious!

Apple Spice Granola
  • 3 cups old-fashioned oats
  • 1/2 cup uncooked quinoa
  • 1 cup almonds (whole, slivered, chopped, whatever you prefer)
  • 2 tsp cinnamon
  • 1/4 cup chia seeds
  • 3 Tbsp ground flax seed
  • 1/2 tsp ground nutmeg
  • 1/2 tsp ground cloves
  • 1/8 tsp salt
  •  1 large apple, peeled and diced
  • 1/3 cup melted coconut oil (or vegetable oil)
  • 1 tsp vanilla extract
  • 1/2 cup unsweetened applesauce
  • 1/3 cup pure maple syrup
  • a little less than 1/4 cup honey w/molasses*
  • 3/4 cup raisins
Preheat oven to 325 degrees F. Line two cookie sheets with parchment paper.

In a large bowl mix all of your dry ingredients - oats, quinoa, chia seeds, flax seed, almonds, cinnamon, nutmeg, cloves, and salt. Do not add raisins yet.

In a medium bowl whisk together all of your wet ingredients - oil, vanilla, applesauce, honey w/ molasses, maple syrup.

Pour syrup onto oat mixture and mix until everything is coated. Spread onto cookie sheets and bake for 45 minutes. Stir granola every 10 minutes to avoid burning.

Cool granola for about 20 minutes. Add raisins. Store in air tight container.

*Here's the deal with the honey. What I have read about converting brown sugar to honey is that you want to use a little less honey and then add molasses to finish your measurement. I usually eyeball it. You also want to use less honey than sugar. So if your recipe calls for 1/4 cup sugar, then you use a bit less than 1/4. If you want to get really technical, you can buy a kitchen scale and convert it by weight, but that's too involved for me so I wing it. So far I haven't messed up too badly.
For this recipe I measured out somewhere between 1/8 cup and 1/4 cup of honey and then since the recipe calls for DARK brown sugar, I added a good glob of molasses. It all comes down to taste, so it might be trial and error for you. Let me know if you have any questions about it!

If you want to make this gluten-free you can use gluten-free oats.

Like I said before, if you want it to be clean, use the honey conversion. If clean isn't a concern for you then check out the original recipe for the brown sugar measurement.


 Happy Fall my friends!

Now here's hoping for fall-ish weather coming our way soon!

Tuesday, October 1, 2013

Fiesta Salad


You have no idea what you are in for with this dinner.

Prepare yourself for flavor overload. This dish is called Fiesta Salad and I truly believe it is because eating this is like having a party in your mouth.

Ever still the skeptic when it comes to eating raw veggies, I was iffy about making this. Raw onions, peppers and carrots...I'm not so sure about that.

But it really did sound good so I put my big girl pants on and made it for dinner one night. 

I got this recipe from a friend that gave me a WHOLE bunch of great recipes a while back, and I'm just now getting to making them. She found it out of Oxygen magazine. The website at the bottom of the page was www.oxygenmag.com, in case you want to check it out. 

I was excited to make this because it sounded yummy, but I was still unsure of how I would like the veggies in it...and if I didn't like it, there would be no way the kids would eat it. 

 
Between the brown rice, veggies, and whatever protein you pair this with, it is a whole meal in one. It's packed with nutrients and protein which can be hard to get in the kiddos. 

After you prep all of your veggies, mix your rice, veggies, cranberries, and parsley together in a large bowl.


In a smaller bowl make your sauce. Combine garlic, soy sauce, lemon juice, and olive oil.


Ok, so here is the part when I didn't read every thing fully. (Shocker, I know.) There is a quote on the recipe that says,
 "Chicken, fish, or even eggs, this recipe compliments any protein perfectly."

Well, I took this to mean that you would mix in the chicken, fish, or eggs...like I said, I didn't really read it. Never mind the fact that chicken, fish, or eggs are not listed anywhere on the ingredients list...which should have been my first clue. So my cooking plan was to add chicken. As I was cooking the chicken I re-read the quote and realized that they probably meant that you should pair this salad with chicken, fish or eggs. As in....side dish. Whoops.

Well, now I have chicken on the stove cut up in to small bite size pieces. 
Oh well!
I decided to go ahead with my original plan. I cooked the chicken and cut them up as small as I could. Then when they were fully cooked, I chopped them up even more and mixed them in the salad.


It's up to you if you want to use this as a side dish or if you want to mix in chicken or eggs. I think my mistake turned out pretty good. I'll most likely make it that way every time. 

The last step is to pour your sauce over the salad and mix well.


I tell you what...I haven't been this excited about a recipe in a LONG time. Chad, Olivia, and I all had the same reaction when took our first bite.... "WOW.".

There are so many flavors that you can't concentrate on just one and when you chew, it's like they all just burst in your mouth. 

SO GOOD.

We ALL had seconds of this, and the little that was left got eaten for lunch the next day. It is definitely going into our regular rotation of dinners. Besides the prep of the veggies, it's pretty easy to throw together, which is a huge plus. 


Ok, I won't keep you waiting any longer. Here is the recipe.

Fiesta Salad (with Chicken) 
  • 2 cups cooked brown rice
  • 1 8 oz can of corn, rinsed and drained
  • 1 red pepper, chopped
  • 2-3 green onions, chopped
  • 1/4 dried cranberries
  • 1 carrot, grated or finely chopped
  • 3 tbsp fresh parsley (or 2 tbsp dried parsley)
  • 1 clove garlic, crushed or minced
  • 4 tbsp low-sodium soy sauce
  • 2 tbsp lemon juice
  • 1/2 cup olive oil
  • 1/4 roasted pine nuts or roasted slivered almonds
  • 1/4 roasted sunflower seeds
  • Ground pepper, to taste
In a large bowl combine rice, corn, red pepper, onions, cranberries, carrot, and parsley.

In a separate bowl blend garlic, soy sauce, lemon juice and olive oil.

(Add chicken or eggs to rice mixture)

Pour olive oil mixture over salad to evenly coat. Add roasted nuts, sunflower seeds and black pepper to taste.


Here are some extras from me:
  • If you don't have fresh parsley, use 2 tbsp dried.
  • Don't worry about spending the money on roasted nuts and seeds. I'm sure they taste great, but I didn't have them on hand and they are expensive! So I used plain unsalted sunflower seeds and plain slivered almonds.
  • Again, it's up to you if you want to add the protein to the salad or have it on the side.

These are the things that I did when I made it. I have to watch my costs with cooking and I hate having to buy one random ingredient just for one dish. So I just make do with what I have and hope it works! And then I also don't have half bags of nuts and seeds cluttering up my cabinets.

I hope your family enjoys this as much as mine did!